Best Soil for Cannabis Seedlings: How to Choose the Right Mix for Strong, Healthy Growth
Starting your cannabis grow the right way begins with one crucial factor: choosing the right soil for your seedlings. At the early stages of a cannabis plant’s life, roots are delicate, nutrient absorption is minimal, and even small mistakes in your growing medium can lead to stunted growth or seedling failure. Whether you’re sprouting seeds indoors or planning a future outdoor transplant, selecting the proper cannabis seedling soil is key to building a strong foundation.
In this guide, we’ll explore what makes an ideal seedling soil mix — including essential traits like light texture, good drainage, and neutral pH. You’ll also learn how to avoid common mistakes, discover the best DIY and store-bought options, and get tips on how to transition your seedlings to their next stage of growth.
Why Soil Choice Matters for Cannabis Seedlings
The seedling stage is one of the most delicate phases in a cannabis plant’s lifecycle. During this time, your plant is focused entirely on root establishment and early leaf development, which is why choosing the right cannabis seedling soil is essential. Unlike mature plants, seedlings cannot handle excess nutrients, poor aeration, or waterlogged conditions — all of which are common issues in unsuitable soil types.
✅ Healthy Start = Healthy Harvest
The right soil gives your seedlings:
- Proper aeration for oxygen exchange
- Moisture retention without becoming soggy
- A nutrient-free medium that prevents nutrient burn
- A stable pH range between 6.0 and 6.5 for early nutrient uptake
Failing to meet these conditions can lead to problems such as damping off, root rot, or stunted seedling growth, which ultimately affects the plant’s ability to thrive in later stages.
⚠️ Avoiding Common Soil Mistakes
Many first-time growers mistakenly use regular potting soil or rich organic soil for seedlings. While these may seem healthy, they often contain too many nutrients or lack the light and fluffy texture cannabis seedlings need. Over-fertilization at this stage can cause nutrient lockout or lead to weak, leggy growth.
Instead, opt for a well-draining, light-textured soil mix made with ingredients like coco coir, peat moss, and perlite. These materials support strong root oxygenation, maintain consistent moisture levels, and prevent the soil from compacting — which is critical for tiny, emerging roots.
🌱 Build the Foundation
A strong foundation in the seedling phase sets your cannabis plant up for long-term success. As the soil food web develops and microbial life begins to interact with the root zone, your plant becomes more resilient. Even though living soil is better suited for vegetative and flowering stages, starting with a clean, starter mix optimized for seedlings helps prevent early issues while ensuring your cannabis gets the best possible beginning.
Key Characteristics of the Best Cannabis Seedling Soil
Choosing the right cannabis seedling soil isn’t just about filling a pot with dirt — it’s about creating the perfect growing medium that meets the specific needs of young plants. At the seedling stage, cannabis has a fragile root system that requires a carefully balanced soil environment. The ideal seedling soil supports root oxygenation, maintains gentle moisture, and avoids overwhelming the plant with nutrients.
Here are the most important traits to look for in high-quality soil for cannabis seedlings:
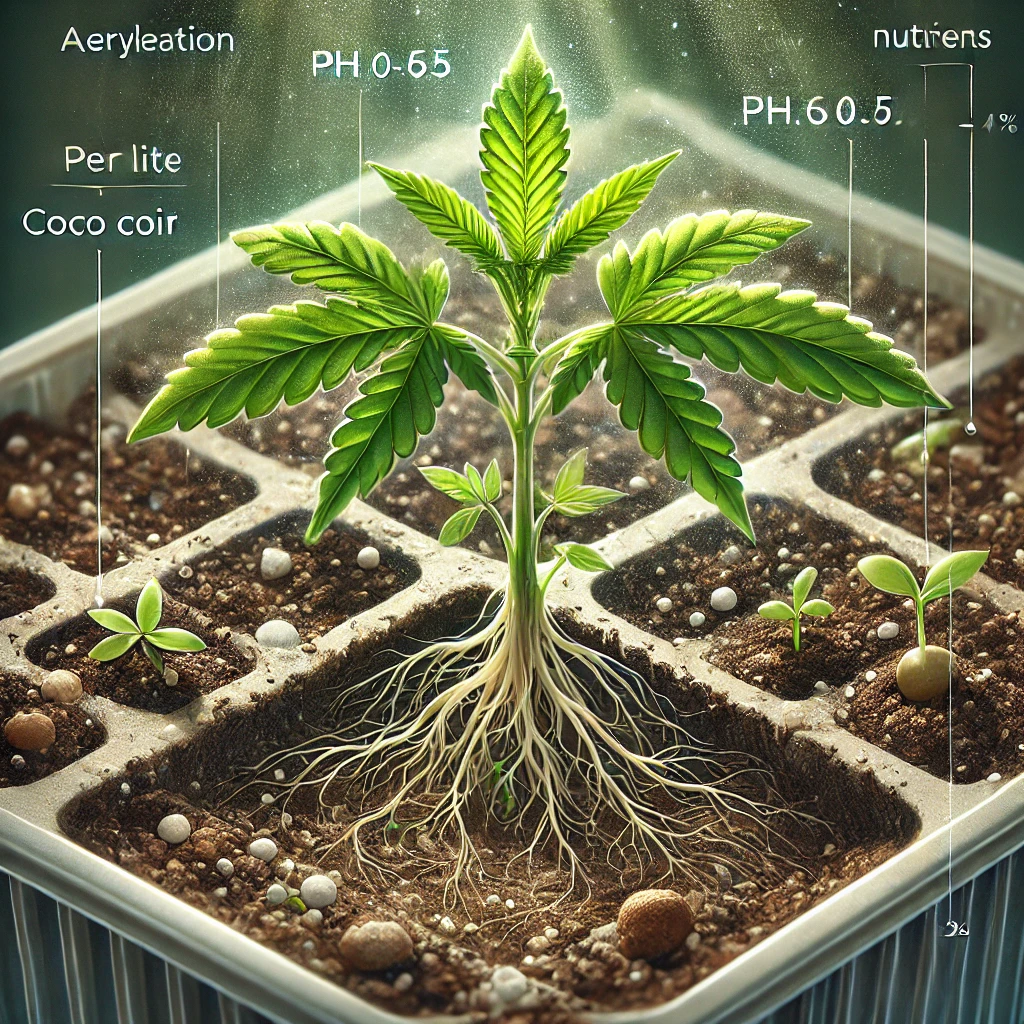
🌬️ Light and Airy Texture for Root Aeration
Cannabis seedlings need soil that allows for ample airflow around their roots. Dense or compacted soil can suffocate the developing root system, leading to stunted growth or even damping off. Incorporating materials like perlite, vermiculite, or coco coir into your seedling mix promotes soil aeration, which is crucial for early root expansion and healthy respiration.
🌱 Low or No Nutrient Content to Prevent Burn
One of the most common mistakes new growers make is planting seeds in nutrient-rich soil. While nutrients are vital later on, they can easily burn sensitive seedlings. A good starter mix will be virtually free of synthetic fertilizers and harsh additives, providing a clean environment for early root development. You can introduce microbial boosters or organic nutrients later when transplanting.
💧 Moisture Retention Without Waterlogging
Seedlings thrive in moist—not soggy—conditions. An ideal seedling soil should retain moisture to keep the root zone hydrated while offering excellent drainage to prevent overwatering. Materials like peat moss and coco coir help with moisture retention, while perlite ensures the excess water can easily escape. This balance prevents issues like root rot and allows oxygen to circulate freely.
⚖️ Balanced pH for Nutrient Uptake
Even though you won’t be adding nutrients yet, the pH level of the soil still matters. Cannabis seedlings absorb water and trace minerals most efficiently in a pH range between 6.0 and 6.5. Soil outside this range can cause nutrient lockout, even if the roots are otherwise healthy. Always test your soil or mix before planting and adjust if needed using organic pH up/down solutions.
Best Soil Ingredients and Starter Mixes
When it comes to nurturing healthy cannabis seedlings, not all soil mixes are created equal. Your goal at this stage is to create a growing medium that is lightweight, low in nutrients, and optimized for root development without causing stress or burn.
Let’s explore the core soil ingredients, a DIY seedling mix recipe, and a few top commercial soil options trusted by cannabis growers.
🧪 Essential Ingredients for Cannabis Seedling Soil
To build an ideal seedling mix, you’ll want to use components that improve soil structure, maintain moisture, and support aeration while avoiding excess nutrients.
Here are the most effective ingredients:
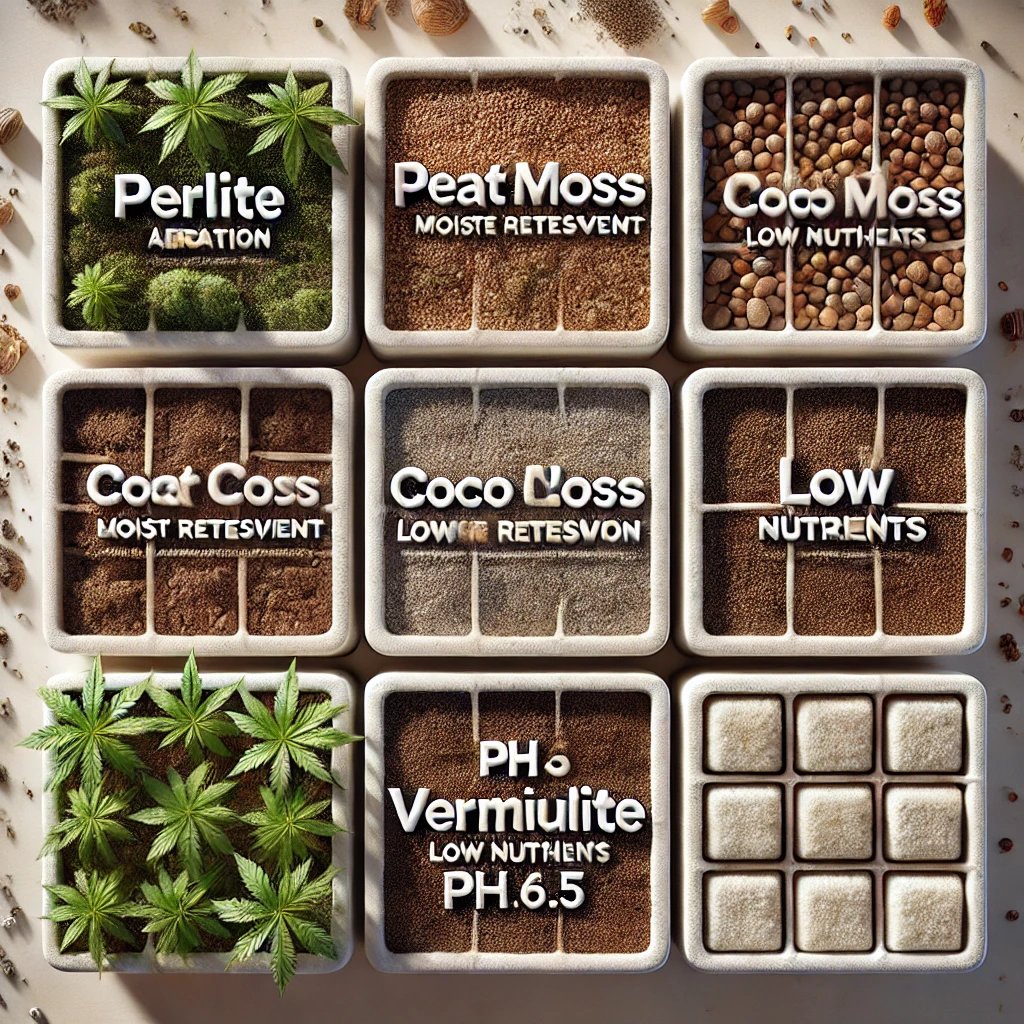
- Coco Coir: Lightweight and excellent at moisture retention without becoming soggy. Also naturally pH neutral.
- Perlite: A volcanic glass that increases airflow, drainage, and prevents compaction in the soil.
- Vermiculite: Helps hold moisture and encourages seedling root growth.
- Peat Moss: Boosts water retention but may require pH adjustment.
- Compost or Worm Castings (optional): Can be added in small amounts to support microbial life and improve texture once seedlings are slightly established.
🛠️ DIY Cannabis Seedling Soil Mix Recipe
Here’s a tried-and-tested recipe for a homemade seedling starter mix:
- 50% coco coir (or peat moss if preferred)
- 25% perlite
- 15% vermiculite
- 10% compost or worm castings (optional for advanced root stage)
This blend is airy, pH-balanced, and offers just enough microbial activity for early resilience without overwhelming fragile seedlings.
🛒 Top Commercial Seedling Soils for Cannabis
If you’re looking for a ready-to-use option, the following commercial products are excellent for cannabis seedlings:
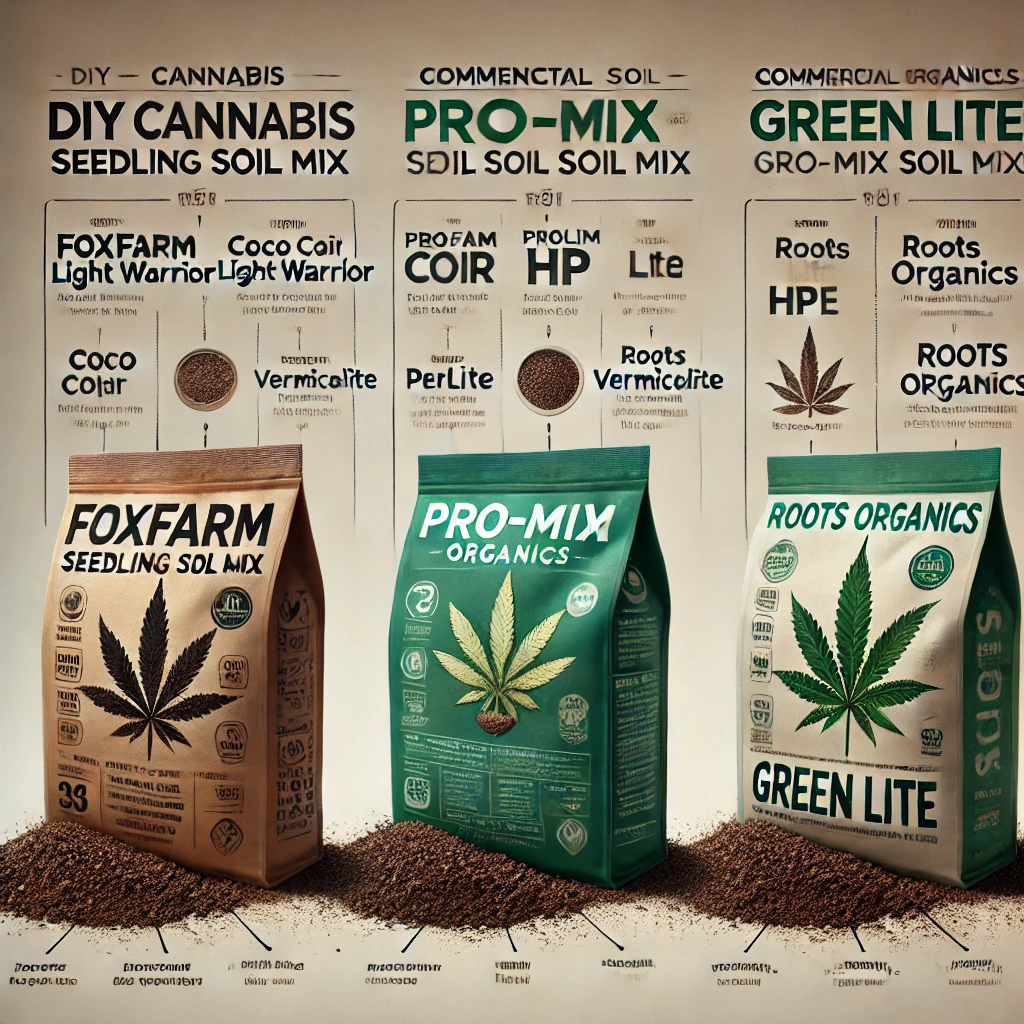
- FoxFarm Light Warrior
- Specifically formulated for seed starting
- Excellent drainage and microbial inoculants
- Promotes strong root development
- Pro-Mix HP Mycorrhizae
- High porosity for airflow and root oxygenation
- Contains beneficial fungi to support early growth
- Roots Organics Green Lite
- Organic mix with enhanced aeration and water management
- Excellent for seedlings before transitioning to richer soil
These are ideal for growers who want consistency and don’t have time to mix their own soil.
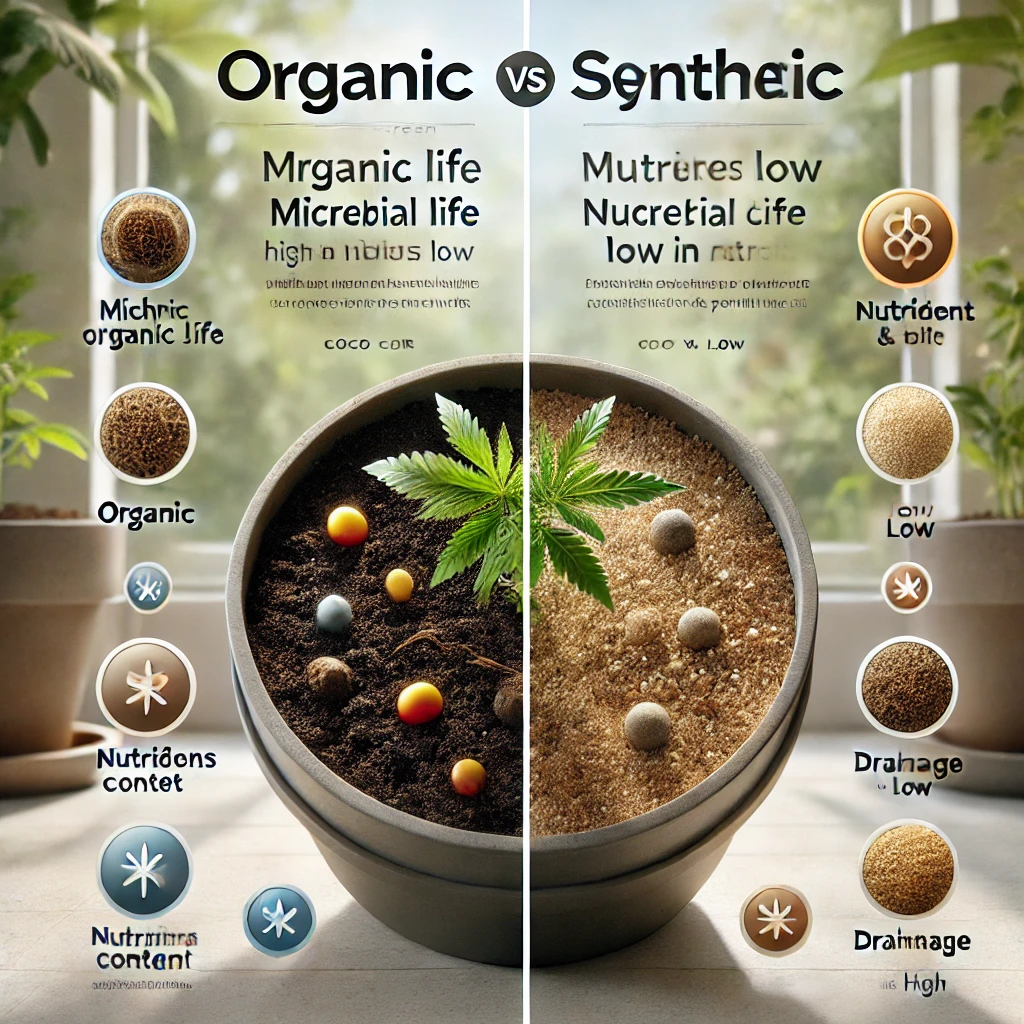
Organic vs Synthetic Starter Soil for Seedlings
When choosing the best starter soil for cannabis seedlings, many growers wonder whether to begin with organic soil or go with a synthetic seed-starting mix. Both options have unique benefits, but for the seedling stage, it’s critical to understand how nutrient content, microbial life, and soil composition affect young cannabis plants.
🌱 Organic Soil: Rich but Risky for Seedlings
Organic cannabis soil, often referred to as living soil, is packed with microbial boosters, compost, worm castings, and natural amendments like bat guano or kelp meal. While this makes it perfect for the vegetative and flowering stages, it can be too nutrient-dense for fragile seedlings.
Key Pros:
- Supports a thriving soil food web
- Sustains plants naturally in later stages
- Boosts long-term plant resilience
Key Cons:
- High nutrient content can cause seedling burn
- Greater risk of pH fluctuations early on
- Soil may retain moisture excessively and reduce aeration
🧪 Synthetic Starter Mixes: Clean and Controlled
Synthetic or soilless seed-starting mixes are specifically formulated for delicate root systems. They often include inert components like coco coir, perlite, and peat moss, without any added nutrients. This gives you full control over when and how to feed your plants.
Key Benefits:
- Prevents nutrient overload and transplant shock
- Offers ideal aeration and drainage
- Maintains stable, pH-balanced soil for early growth
- Perfect for controlled indoor environments
🧬 Which One Should You Choose?
For the seedling stage, it’s best to start with a low-nutrient synthetic mix that prioritizes moisture retention, soil aeration, and root oxygenation. Once your seedlings have developed 3–4 true leaves and a strong root system, you can transplant them into a living organic soil for the rest of the grow cycle.
Pro tip: Avoid applying nutrients until the plant has fully absorbed the cotyledons (first leaves), signaling it’s ready for richer soil or a light feeding schedule.
Comparison Table
| Feature | Organic Soil | Synthetic Starter Mix |
|---|---|---|
| Nutrient Level | High (not ideal for seedlings) | Low to none (ideal for seedlings) |
| Microbial Activity | Rich in microbial life | Minimal or none |
| Seedling Burn Risk | Higher due to nutrient load | Very low |
| Soil Texture | Heavier, moisture-retaining | Light, fluffy, breathable |
| Seedling Suitability | Moderate | Excellent |
| pH Stability | Can fluctuate | Easier to control |
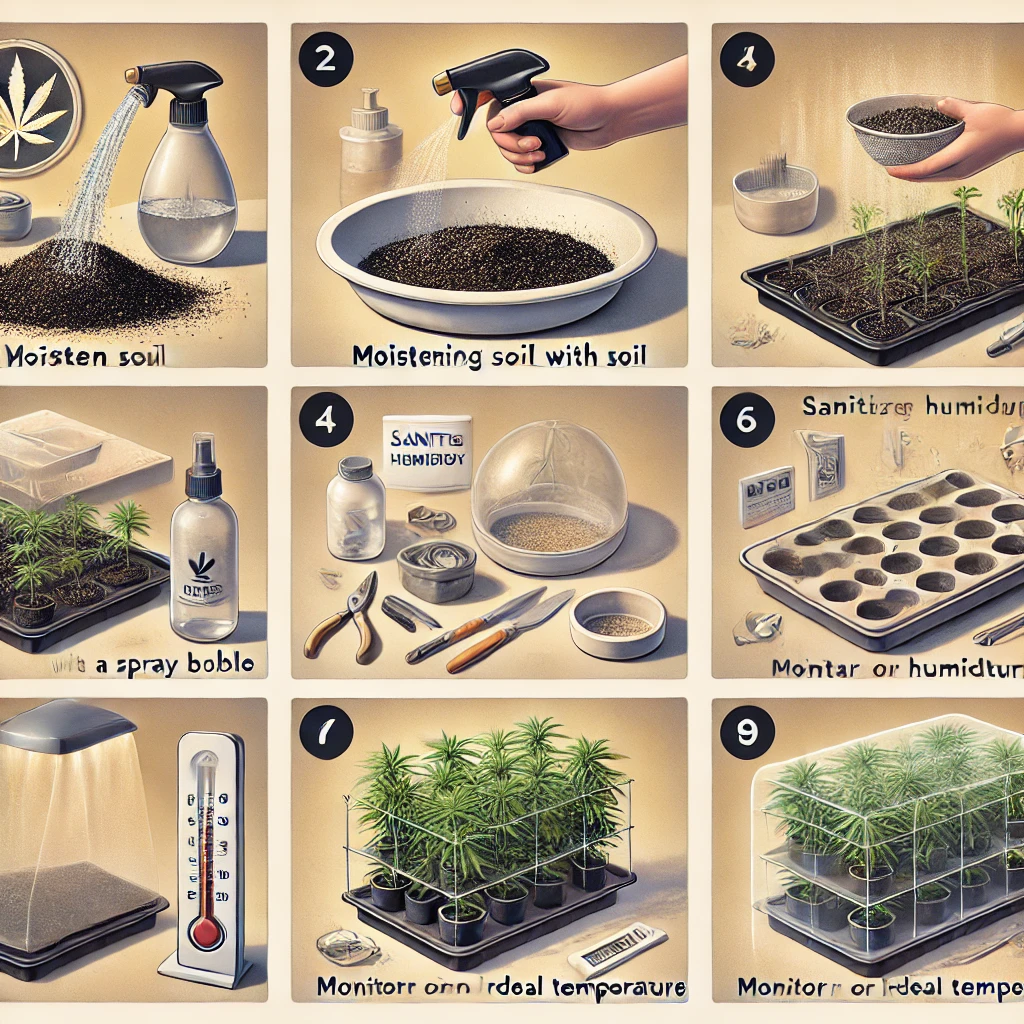
How to Prepare Soil Before Planting Seeds
Preparing your cannabis seedling soil properly is just as important as choosing the right mix. Even the best soil can fail if it’s not handled the right way before planting. By setting up your growing medium and environment correctly, you’ll help your seeds germinate successfully and develop a strong root system during the seedling stage.
🧴 1. Moisten the Soil to the Right Level
Before placing your seeds, the soil should be slightly moist — not wet. This allows for moisture retention without creating soggy conditions that lead to damping off or root rot. Use distilled or pH-balanced water and gently mix it into your soil until it feels damp like a wrung-out sponge.
💡 Tip: Use a spray bottle to maintain humidity in the top layer without oversaturating.
🧹 2. Sterilize Trays and Tools
Cannabis seedlings are vulnerable to disease, especially from contaminated surfaces. Always sanitize seedling trays, pots, and tools with diluted hydrogen peroxide or alcohol to reduce the risk of soil-borne pathogens or mold.
This step is crucial when reusing containers from a previous grow cycle.
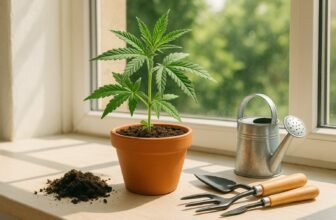
🪴 3. Use Breathable Seedling Containers
Choose biodegradable starter pots, seedling trays, or breathable containers made of fabric or mesh. These support better root oxygenation and help prevent transplant shock when you’re ready to move to larger pots or outdoor soil.
🌡️ 4. Create the Ideal Germination Environment
Once the soil is in place, focus on the surrounding environment. Cannabis seeds germinate best in warm, humid conditions, ideally between 70–75°F (21–24°C) with 65–75% humidity.
Use a humidity dome and low-intensity grow lights to replicate a stable cannabis sprouting environment. Proper airflow is also important to prevent mold or fungal infections.
🧼 5. Avoid Soil Compaction
When filling trays or pots, do not press the soil down firmly. Lightly scoop it in and gently tap the sides to settle the mix naturally. Compacting the soil reduces aeration and drainage, which are essential for early root development.
✅ Quick Checklist for Soil Prep:
- ✔ Pre-moisten the soil evenly
- ✔ Use clean containers and tools
- ✔ Choose well-draining, breathable pots
- ✔ Maintain proper warmth and humidity
- ✔ Avoid compressing the soil
Common Mistakes with Cannabis Seedling Soil
Even with the best intentions, many beginner growers make crucial errors during the seedling stage that can affect the long-term health of their cannabis plants. Most of these mistakes come from misunderstandings about soil structure, watering practices, and nutrient content. Let’s explore the most common pitfalls—and how to avoid them—when working with cannabis seedling soil.
❌ 1. Using Heavy or Nutrient-Rich Soil
One of the biggest mistakes is starting seeds in rich organic soil or reused garden soil. These mixes may contain excessive nutrients that lead to seedling burn or nutrient lockout. At this early stage, cannabis roots are extremely delicate and can’t handle complex soil food web activity or chemical fertilizers.
✅ Fix: Always start with a low-nutrient, light and airy seedling mix such as coco coir blended with perlite and vermiculite.
❌ 2. Overwatering and Poor Drainage
Seedlings don’t need much water, but many growers drench the soil thinking it helps. Without proper drainage holes and a breathable container, overwatering can quickly cause root rot, yellowing leaves, and stunted growth.
✅ Fix: Use a soil mix with good aeration and drainage, water only when the top layer is dry, and always ensure your pots or trays allow excess water to escape.
❌ 3. Compacting the Soil Too Tightly
Firmly packing soil into trays or pots restricts oxygen flow to the roots. Compressed soil suffocates young roots and slows development.
✅ Fix: Loosely fill containers with your soil mix and gently tap the sides to settle it without compressing. This promotes root oxygenation and healthy early root development.
❌ 4. Ignoring Soil pH
Neglecting to test or adjust the soil pH can prevent your seedlings from absorbing key trace nutrients, even if everything else looks perfect. Improper pH can mimic nutrient deficiency symptoms like yellowing or curling leaves.
✅ Fix: Test your seedling mix using a soil pH meter. Ideal pH for cannabis seedlings is 6.0 to 6.5. Use organic pH adjusters as needed.
❌ 5. Using Contaminated or Reused Soil
Reusing soil from previous grows without proper sterilization introduces soil-borne pathogens, pests, or mold spores. This is especially dangerous for fragile cannabis sprouts.
✅ Fix: Always use fresh, clean soil or sterilize used soil before reusing. Disinfect seedling trays and tools to reduce risk of fungal infection.
Top 5 Cannabis Seedling Soil Mistakes
| Mistake | Problem Caused | Solution |
|---|---|---|
| Nutrient-rich soil | Seedling burn, stunted growth | Use low-nutrient starter mix |
| Overwatering | Root rot, yellow leaves | Water less often and ensure good drainage |
| Soil compaction | Poor root growth | Use light-textured, breathable containers |
| pH imbalance | Nutrient lockout | Keep soil pH between 6.0–6.5 |
| Reused or dirty soil | Mold, fungus, pests | Use sterilized or fresh soil for seedlings |

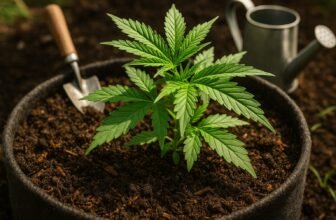
Transplanting from Seedling Soil to Final Pot
Once your cannabis seedlings have outgrown their initial seedling growth medium, it’s time to transplant them into a more spacious environment with richer soil. Transplanting at the right time helps avoid root binding, enhances nutrient uptake, and reduces the risk of transplant shock.
Done properly, this stage marks the transition from delicate sprouts to strong vegetative plants.
🌱 When to Transplant Cannabis Seedlings
Knowing the right time to transplant is critical for a healthy root system. Here are clear signs your seedling is transplant-ready:
- The seedling has 3–4 sets of true leaves
- You can see roots coming through drainage holes
- The plant looks sturdy and is no longer stretching
- The seedling is 2–3 weeks old and has outgrown its starter mix
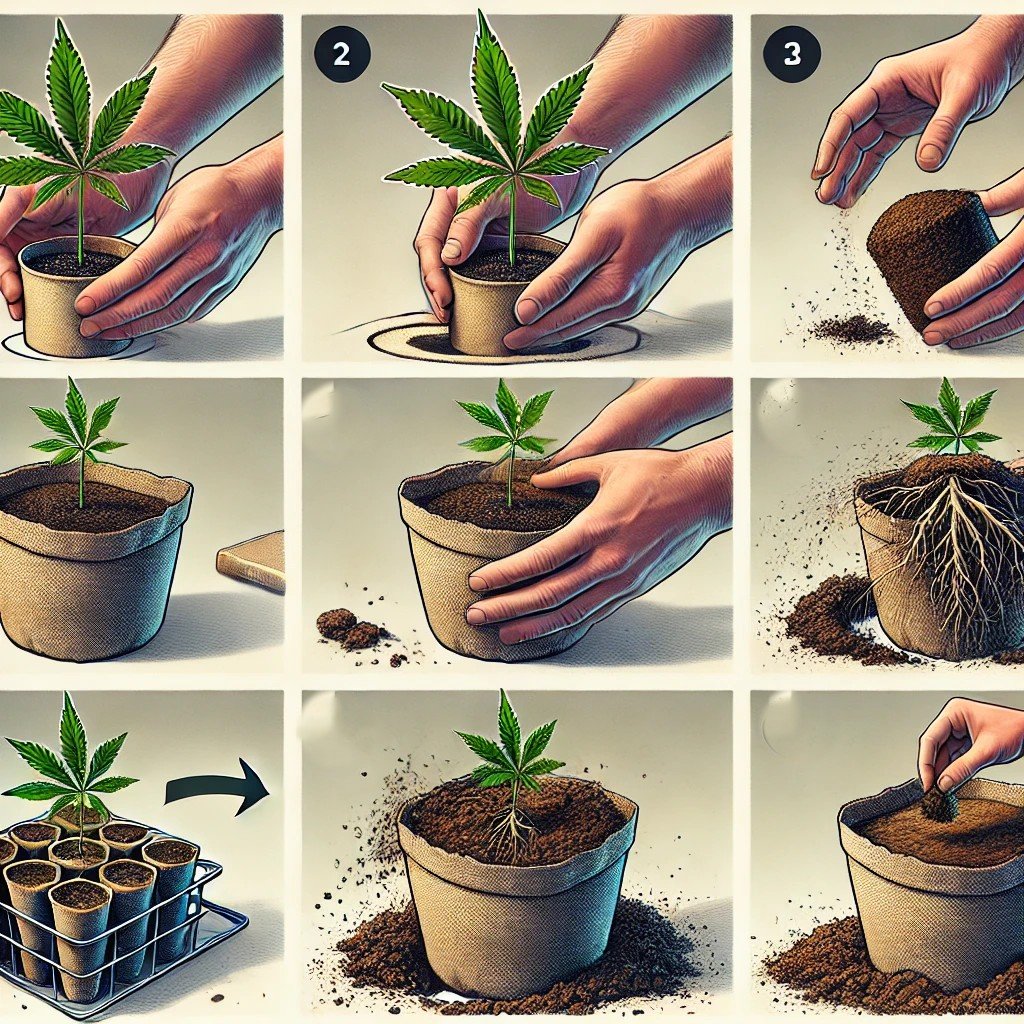
🪴 How to Transplant Without Stressing Your Seedling
Follow these steps to move your cannabis seedling safely into its final home:
- Water the soil in the current container about 2–4 hours before transplanting. This keeps the root ball intact.
- Loosen the soil gently and remove the seedling by the base of the stem — avoid pulling the leaves.
- Prepare the final container with lightly fertilized organic soil (like living soil or an enriched potting mix).
- Dig a hole large enough to accommodate the root ball without bending the roots.
- Place the seedling, cover the roots, and gently press the soil around the stem.
Pro tip: Always transplant into soil that’s pH balanced between 6.0 and 6.5 to reduce stress and allow proper nutrient uptake.
🌿 Choosing the Right Soil for Post-Transplant Growth
After transplanting, your plant now needs a more nutrient-rich soil to fuel vegetative development. This is when it’s safe to introduce:
- Compost or worm castings for organic nutrients
- Microbial life to build a healthy soil food web
- Amended living soil designed for cannabis growth
This stage marks the transition from a sterile, starter mix to a robust growing medium that supports root expansion, nutrient cycling, and microbial interaction.
⚠️ Common Transplant Mistakes to Avoid
- Waiting too long: Crowded roots can cause transplant stress
- Overwatering right after transplant: Let roots breathe and adapt
- Handling roots too aggressively: This can damage the root hairs and slow down growth
- Transplanting into compacted soil: Use light, well-aerated soil to support oxygen flow
✅ Quick Transplant Checklist:
- ✔ Look for 3–4 true leaves
- ✔ Use clean tools and containers
- ✔ Prepare organic or enriched soil
- ✔ Avoid compacting post-transplant soil
- ✔ Monitor moisture and pH closely
FAQs
It’s not recommended. Most commercial potting soil is too dense and often contains slow-release fertilizers that can burn seedlings or disrupt their delicate root system. Instead, start with a nutrient-free starter mix designed specifically for young plants — ideally containing coco coir, perlite, or peat moss for aeration and drainage.
No. Cannabis seeds have everything they need internally to germinate. Introducing fertilizers too early can result in nutrient burn or transplant shock. Wait until the seedlings have at least two sets of true leaves before considering any supplemental feeding. Until then, a low-nutrient, pH-balanced soil is all they need.
Cannabis seedlings grow best in a soil pH between 6.0 and 6.5. This range ensures optimal nutrient uptake without causing deficiencies or lockout. You can test your soil with a digital pH meter or pH test strips. If needed, use organic pH up/down solutions to make adjustments.
Water only when the top half-inch of soil feels dry. Overwatering is one of the most common mistakes at the cannabis seedling stage and can lead to root rot, mold, or damping off. Use a well-draining soil mix and containers with drainage holes to maintain ideal moisture retention without saturation.
It’s possible, but risky. Used soil may contain soil-borne pathogens, pests, or residual nutrients that could harm seedlings. If you must reuse soil, sterilize it thoroughly and amend it with fresh organic seedling mix components like coco coir or perlite to restore soil structure and balance.
Both are popular and effective base materials in seedling growth mediums, but coco coir is often preferred due to its sustainability and excellent moisture control. It also rehydrates more easily than peat and pairs well with perlite for improved soil aeration.
Not immediately. While microbial life is essential for nutrient cycling in later stages, cannabis seedlings benefit more from a clean, low-nutrient environment. Once they’ve developed a strong root system, introducing living soil or microbial boosters can enhance growth in the vegetative phase.
Final Tips for Strong, Healthy Cannabis Seedlings
As your cannabis plants progress through the seedling stage, every small decision you make—especially regarding their soil conditions, watering habits, and growing environment—will impact their long-term health. By focusing on early root development, maintaining a clean setup, and watching for subtle signs of stress, you’ll give your seedlings the strong start they need to thrive.
🌱 Keep the Soil Light and Well-Aerated
Always use a light and airy soil mixture that promotes root oxygenation and drainage. Avoid compacting the soil or using heavy garden mixes that can stunt root growth. Additives like perlite and vermiculite help keep your growing medium breathable and support consistent moisture retention.
💧 Monitor Moisture and Avoid Overwatering
Overwatering is the #1 mistake new growers make during the cannabis seedling stage. Water only when the top layer of soil is dry and ensure your pots have proper drainage holes. Use a small spray bottle for precision and maintain moderate humidity—especially in indoor setups.
🌡️ Maintain the Right Environment
Healthy cannabis seedlings thrive in a stable, warm environment. Ideal conditions include:
- Temperature: 70–75°F (21–24°C)
- Humidity: 65–75%
- Lighting: Soft, indirect grow light or low PPFD LED panels
- Airflow: Gentle fan to simulate natural wind and prevent mold
Use a humidity dome during germination and early growth to maintain optimal levels.
🧪 Test pH Regularly
Even during early stages, your soil pH plays a vital role in nutrient availability. Aim for a pH between 6.0 and 6.5, and check it weekly using a digital pH meter or test strips. Imbalanced pH can mimic nutrient deficiency symptoms and cause nutrient lockout.
🔁 Prepare for Transplant Early
Don’t wait too long to transplant your seedlings. Once they have a well-developed root system and several sets of true leaves, begin transitioning them to a nutrient-rich organic soil or living soil environment. This minimizes the risk of transplant shock and supports faster growth during the vegetative stage.
🧠 Pro Grower Reminders:
- ✔ Use breathable containers or seedling trays
- ✔ Avoid overfeeding—no nutrients until 3–4 true leaves
- ✔ Label your strains and track progress weekly
- ✔ Keep a grow journal for environmental conditions
- ✔ Always wash hands and tools to prevent contamination

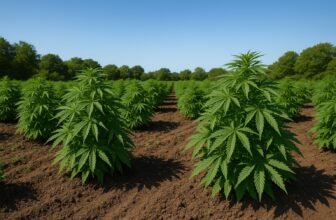
Ready to move your plants outdoors? Don’t miss our complete guide to growing weed outdoors — packed with soil tips, sunlight requirements, and regional planting advice.